
DIY Acoustic Panels
Hanging some sound reduction panels can do wonders for the quality of the audio in your home office or media room. Additionally, it will help isolate sounds from your neighbors or family, especially along shared walls.
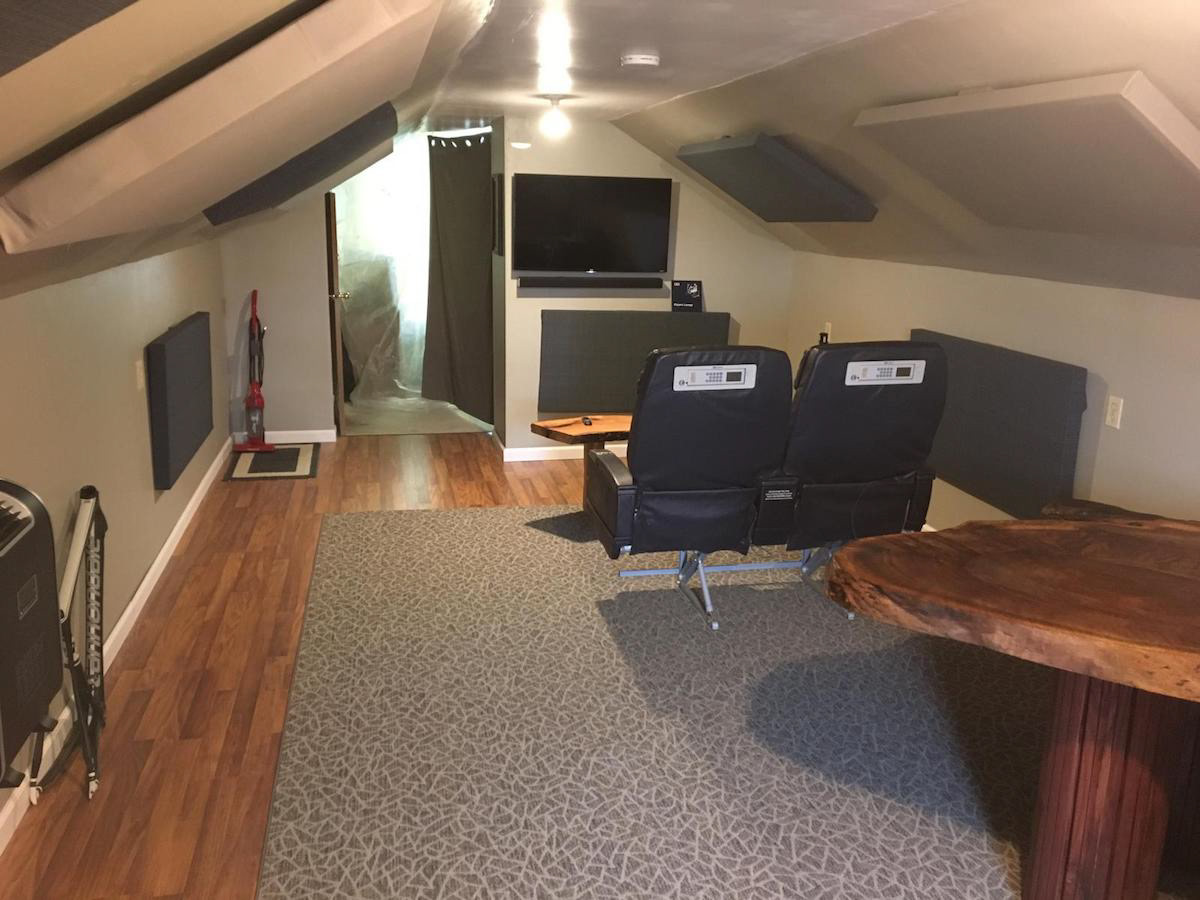
Of course, the finished picture first. This room really needed some echo reduction, and these panels have made a noticeable, positive difference. There are 12 2'x4' panels in total. I recently posted my attict-to-edit suite transformation DIY, and a lot of people asked about the sound reduction panels I had built for it. They're an economical way to greatly reduce any kind of sound wave reflections you're getting. While the price per square foot is very close to the cheapest foam sound material I found on amazon ($2.57/sqFt for mine, $2.69/sqFt on Amazon), the sound absorption qualities of these DIY'ers are going to be quite a bit better. Plus, you can customize them as much as you want. Total cost for 12 panels was about $247, or $20.58 per panel. You can probably cut about $40 off the total price with strategically used fabric coupons as noted further below. You also might get lucky and find the insulation panels for sale cheaper near where you are. I paid $110 locally for the box of 12 sheets, but I've seen them listed as low as $65, it's just that none of those places are near me and shipping was $45+. YMMV
I made these with 2" furring strips and 1" insulation panels, but if you want or need more sound reduction - such as for a shared wall in a media room or if you're playing instruments - you can use a 3" frame with 2" insulation panels. The panels typically come in packs of six 2" panels or twelve 1" panels. The price per square inch is typically the same with whichever you choose, so it's up to you what you buy. You can always double up 1" sheets if you want a few thicker and a few thinner.
Materials List:
12 sheets (1 package) 2'x4' Owens Corning 703 insulation panels OR Roxull Rockwool panels
24 2"x1"x8' furring strips (two for each panel)
box of 1 5/8" or 2" wood screws
wood glue if desired
18 yards of fabric
1 8' 1x4 poplar board (for the wall hangars)
Tools list:
Mitre Saw
Power Drill
Staple Gun
Iron & Ironing board
Tape measure or ruler
Razor blade
Gloves & dusk mask for handling insulation panels
Optional: Another power drill (if you're like me) or a drill press (if you have more tools than me)
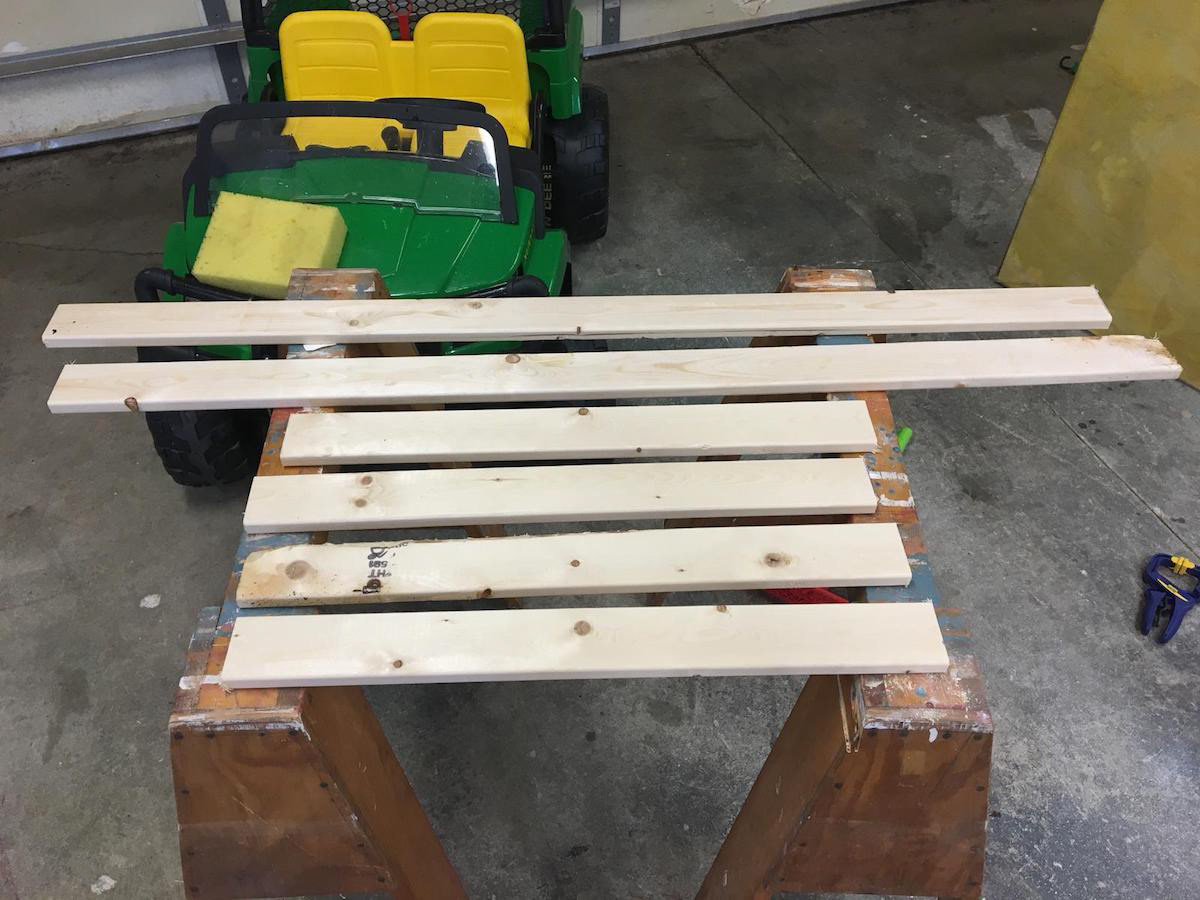
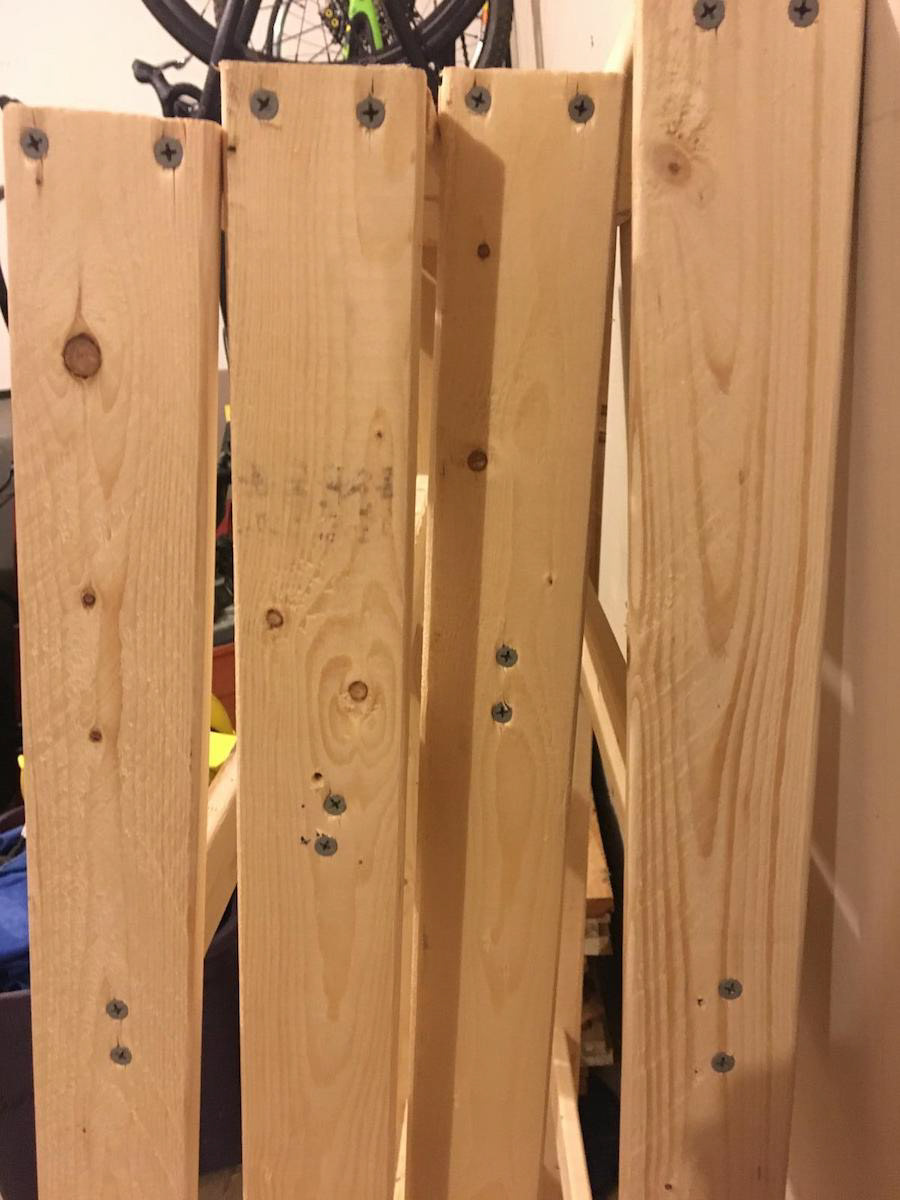
First furring strips cut. Two 8' strips per panel. Cut one 8' piece in half. Cut the second piece in quarters. After you cut them, stack them on top of one another, and make sure they're all really the same length as each other. If they're not, trim the longer ones to match the shorter ones. The insulation panels are slightly flexible, so they'll fit if you're not quite at 2' wide or 4' long exactly. Two of the shorter 2' pieces will serve as the top and bottom of the frame. The other two will be supports to keep the insulation panel form falling out.
When buying the furring strips, look closely at each one to get the straightest pieces you can. Be sure they're not warped in any direction - if they are, when you assemble them, the final product will end up twisted. One of my panels is this way, and it's because I didn't look closely enough. I didn't worry about edge chips or other cosmetic issues on them though, since they'll be wrapped in fabric later.
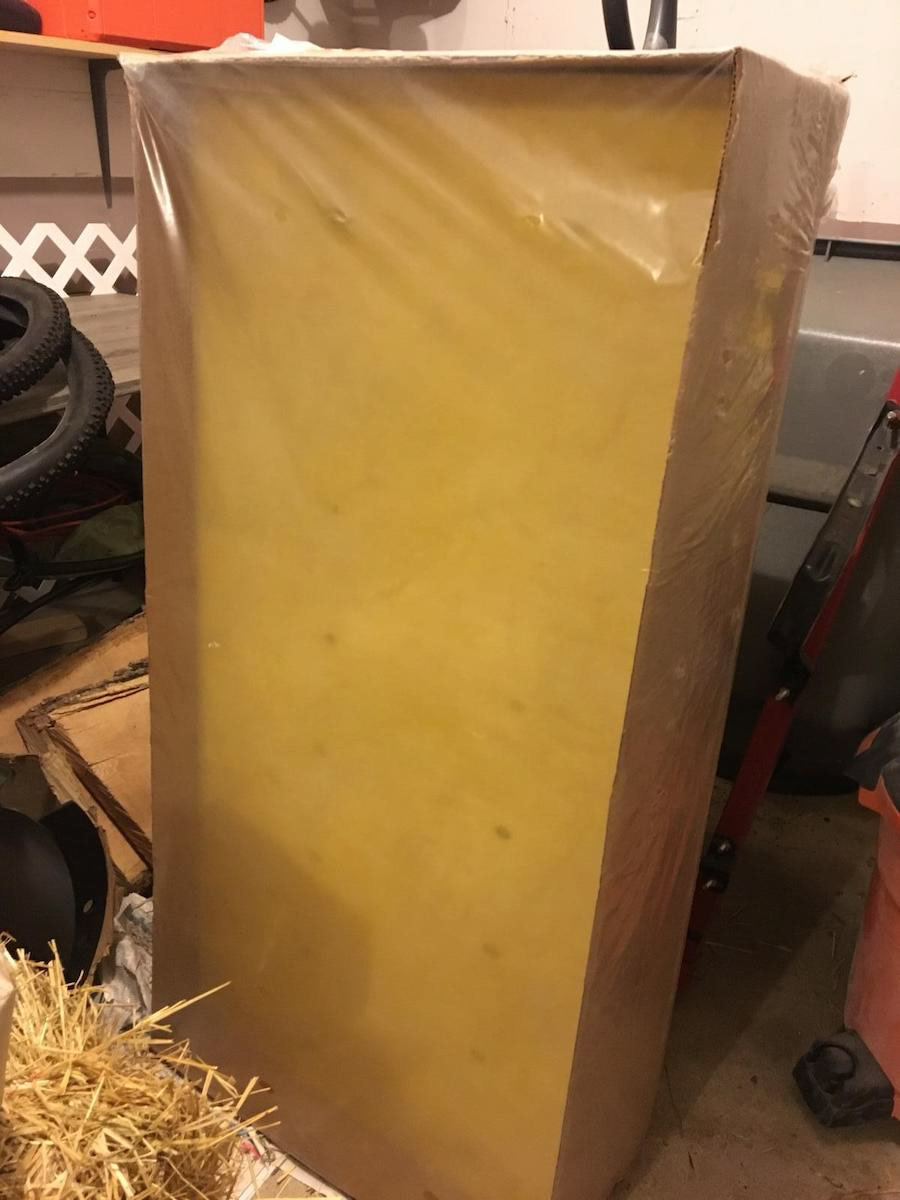
The box of insulation panels (after a few have been taken out. They're backed panels, so when you install them in the frame, you'll put this side facing out (where the fabric will cover) and the silver side will face out the back side.
Finding these panels for the right price can be the tricky part. They're easily available for order on Amazon or some acoustic materials websites, but the shipping can add up quickly, and it can take more than a few days. I was able to find one supplier within an hours drive of my house (it was about 45 minutes round trip for me, but the next dealer was over an hour one way), and all they carried were the 1" panels, so that's what I got.
Your other option for material if the 703 is difficult to find is Roxull rock wool panels. They also come in 2'x4' panels and have similar sound absorption properties as the 703.
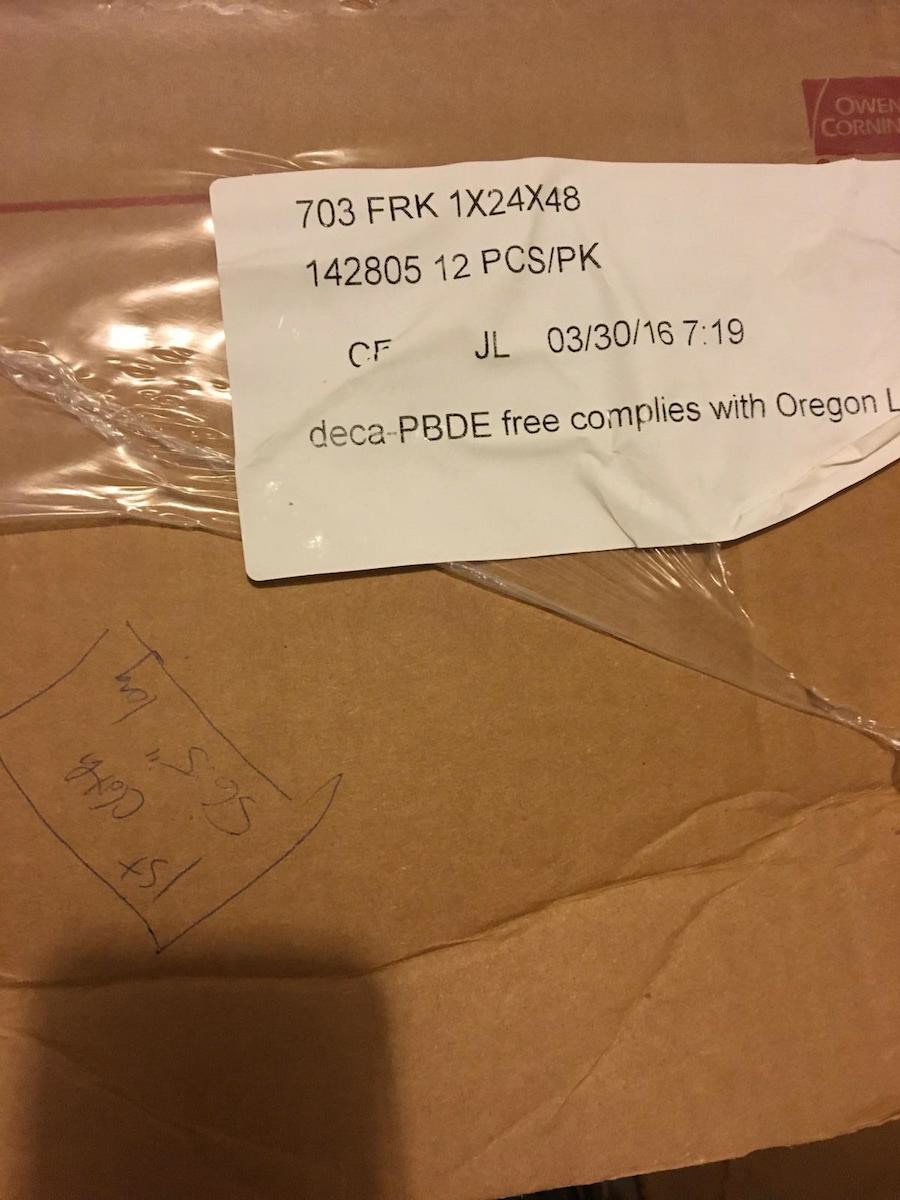
Close up of the tag on the box, in case anyone is interested. You'll also see my hand written note that says the correct length for cutting the fabric that will cover these panels: 56.5". It doesn't have to be exact, but around 56 is correct.
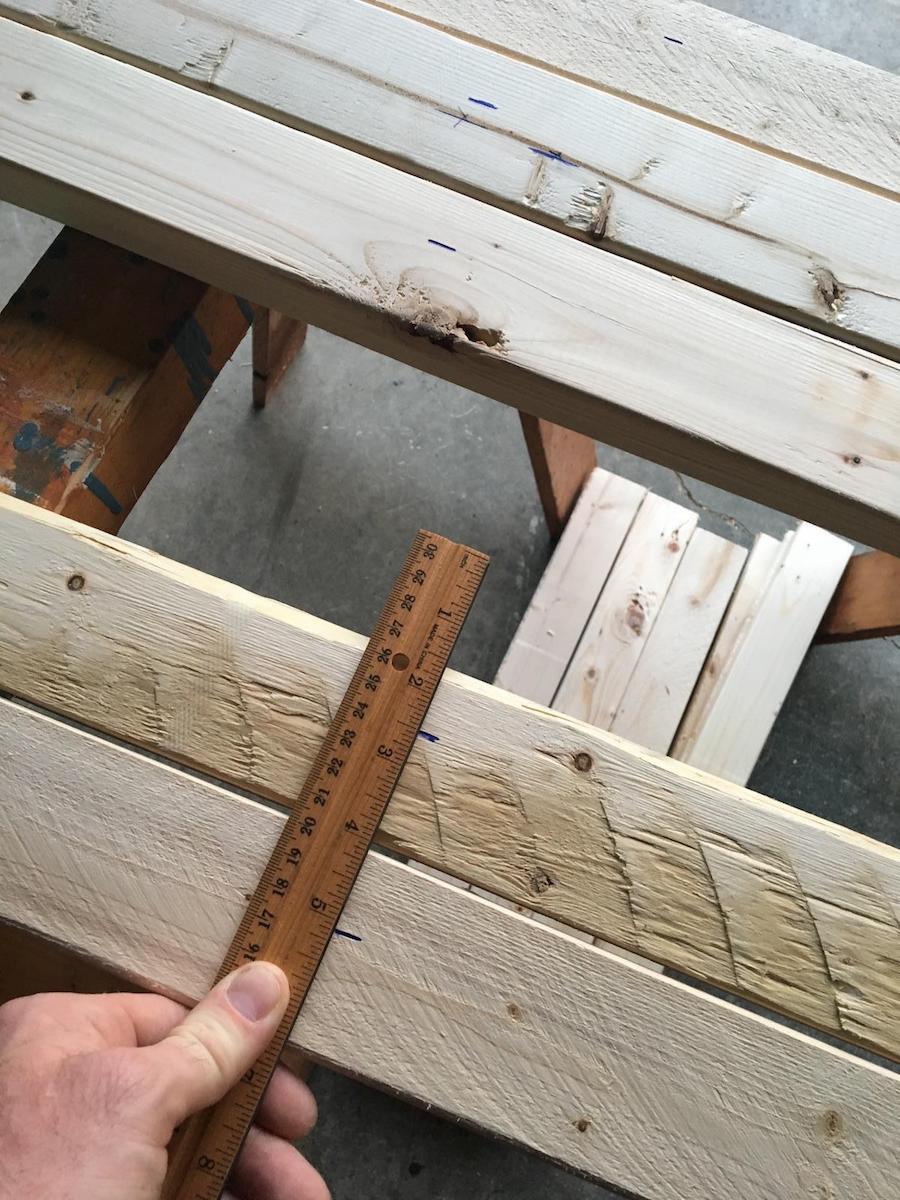
The two 2' cross supports need to be attached 1" below the top/front edge of the frame. We're doing this because the insulation panel is 1" thick, and we want the front of the panel to be even with the edge of the frame for when we wrap it in fabric. I've alternately seen it suggested that you could set the supports less than 1" back so when you wrap the fabric you get a sort of beveled edge look.
Since these are cheap wood furring strips, drilling pilot holes was necessary so they didn't split. You'll of course want to drill them about 1/2" below the mark you've made. If you have a drill press for this, it would make things quicker. I don't have a press but I did have a second power drill, so I put the bit for the pilot holes in one and a screwdriver bit in the other. This'll save a bit of time in the process, since you will end up going back and forth between drilling and screwing. That's what she said.
Ideally, you'd measure the locations of the cross pieces at exact 1/3 increments along the sides, though I didn't do that because, well, I didn't. Either way, it's a very good idea to keep all your wood for each individual frame marked and set together in your workspace so they don't get confused.
Putting the panel flush with the front of the frame and leaving some space behind it is essential for proper sound reduction. While the panel absorbs some of the waves, some still pass through and reflect back off of the wall behind. Having that extra airspace behind allows those waves to dissipate better than if the panel was flush with the drywall.
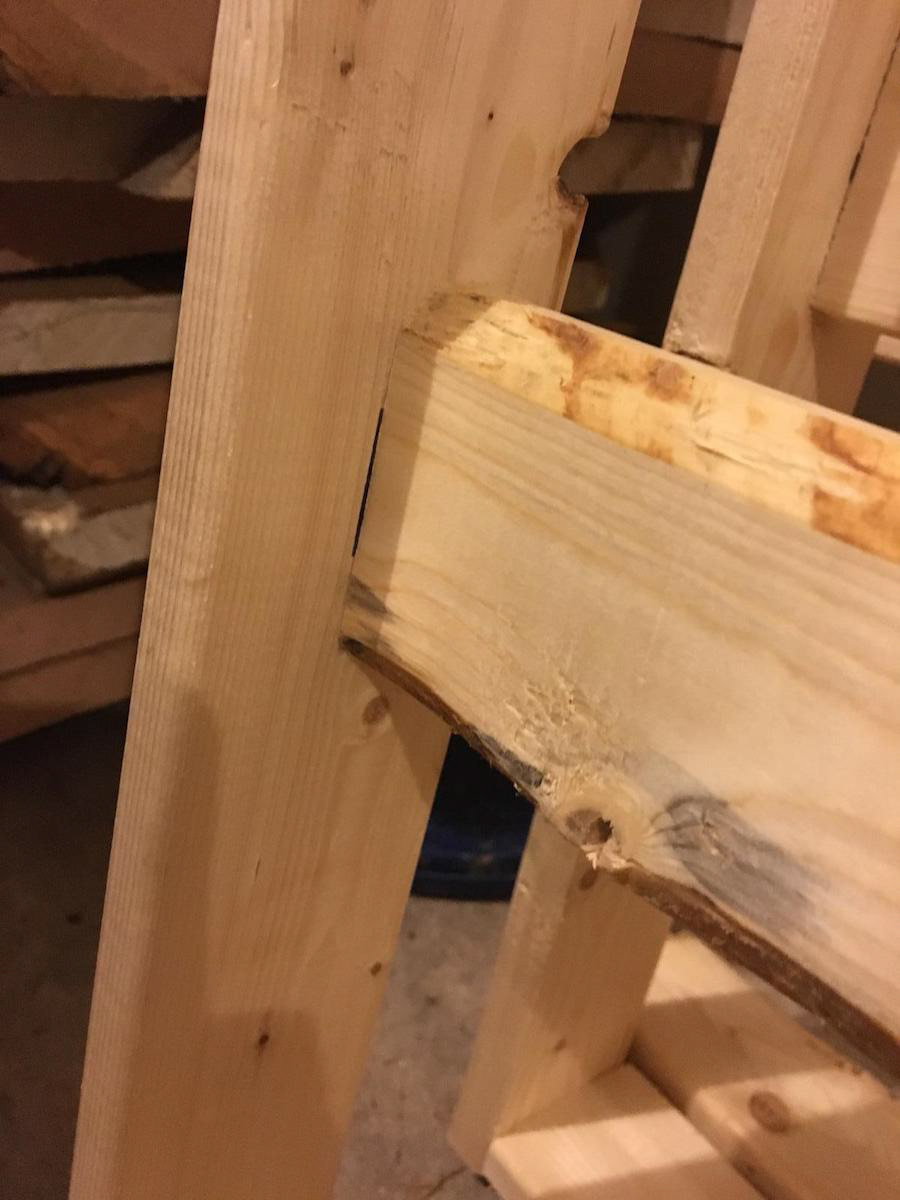
A shot of a cross piece attached at the 1" mark I made earlier. I attached these after making the initial 2' x 4' frame with the side and end pieces.
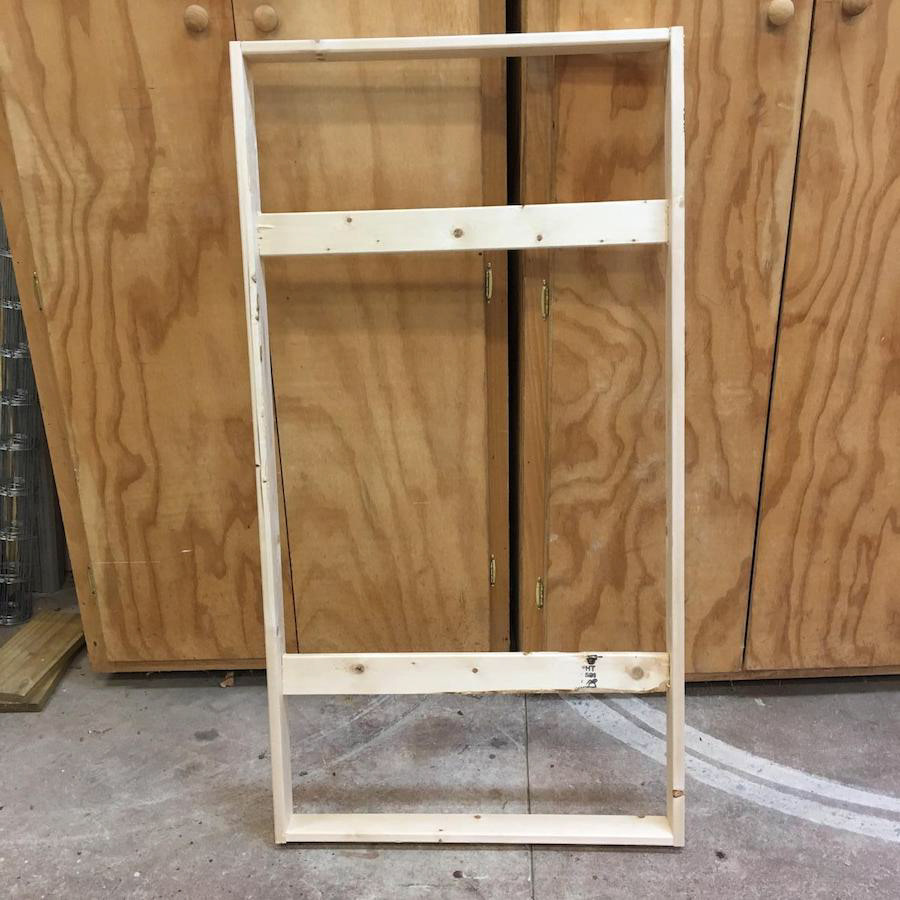
A completed frame. Notice that the end pieces are set inside of the side pieces. This creates an inside frame size of approximately 24" wide by 46" high. You'll see why this matters in a moment. Also notice that the cross pieces on this one aren't set at 1/3 increments. They should be a little closer together than this, I think. If you want more support to keep the panel in place, you could cut a piece of wood at a right angle for each corner and also set them 1" below the edge, but that's up to you. I decided I didn't care that much, and haven't noticed an issue.
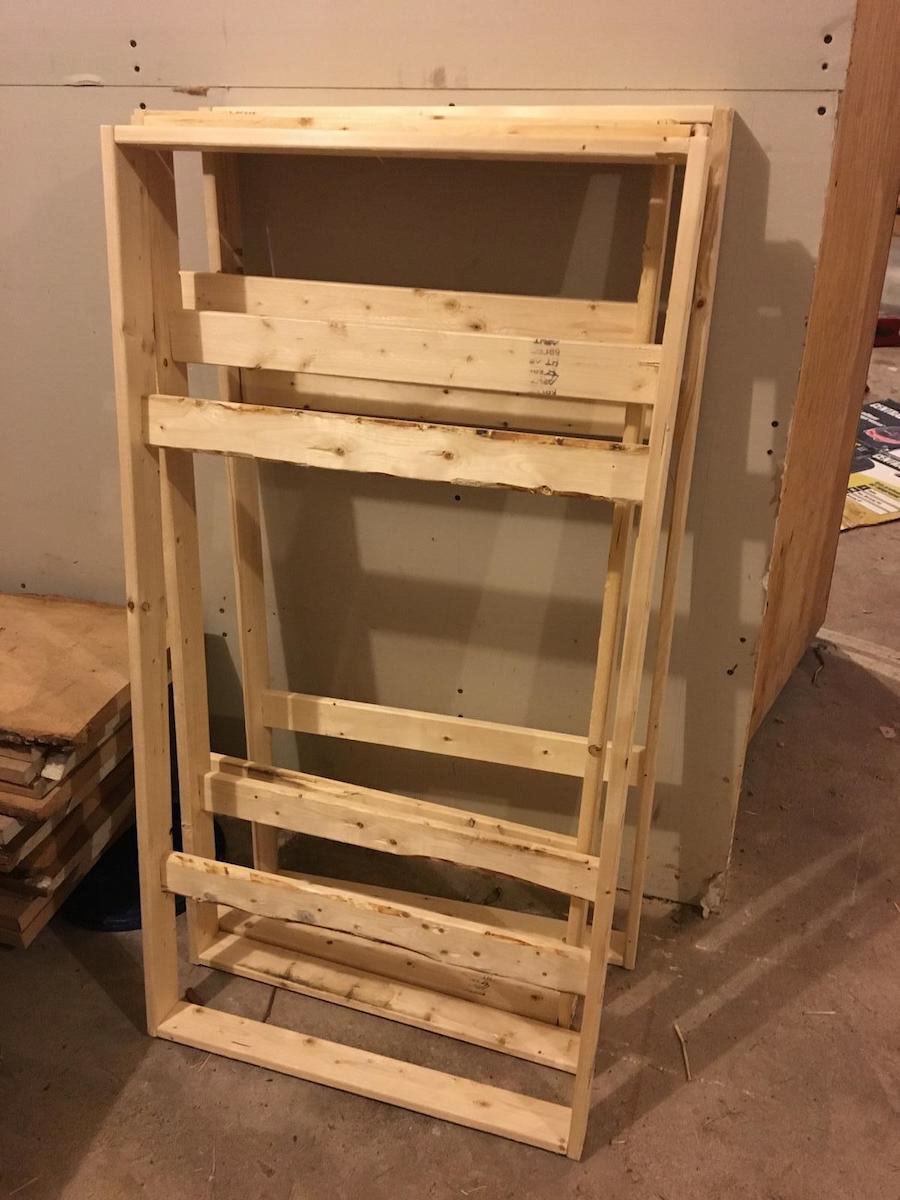
A stack of 4 frames built. I actually ended up building them in 3 different batches, mostly because I wanted to get some completed, but I only had enough fabric for 4 at a time. I had to go to a few different fabric stores to get enough of the black matching fabric I wanted, and then even had to end up getting a different color to finish it up.
This side view shows the variation in placement of the cross bars. As I said, they're mostly random-ish. I used 1 5/8" screws for all the the connections. When I made the first panel, I used screws and wood glue, but I decided that I probably didn't need that much support, since these will just be hanging on the wall and not really being moved about. Your call on that one.

After the frame is built, take one of the 703 panels and lay it into the frame with the non-faced side facing outwards. Remember earlier when we said that because of the way we built the frame the inside frame size is 24"x46"? This is the result. The panel should fit snugly side to side, but will have about 2" of overhang on the long side. Cut that excess off with a razor blade. While you're handling and cutting the insulation, it's always a good idea to wear gloves, a dust mask, and long sleeves.
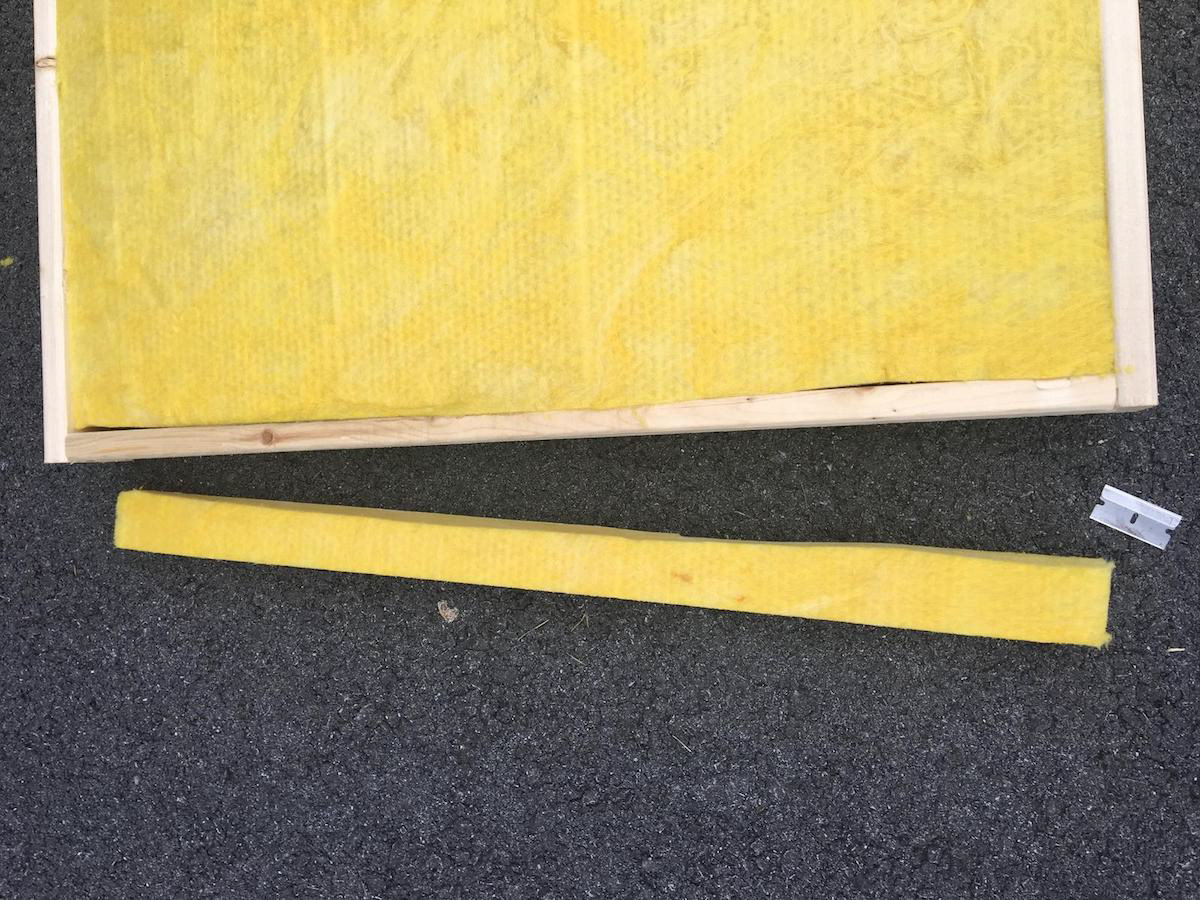
This one wasn't cut so straight (others looked better, I swear!) but it still works just fine. Even if you cut it a little small, the panels are light enough that the fabric will keep it in the frame. These panels are easily cut with a blade, so if you wanted to get creative, you could realistically make these panels in any shape you want.

Here's the exact fabric type I bought. You want something that's breathable to allow sound waves to easily pass though. The tip I heard was if you can hold the fabric up to your mouth and easily breath through it, that's what you want. Now for 12 panels of this size, you'll need about 18 yards of fabric. That can make things tricky if you want them all to look the same - I bought out the fabric I wanted from the two local "big fabric" stores near me, and they have a terrible special order policy, so I just decided to go with a neutral secondary fabric to finish them up.
The pricing I used for the fabric in my calculations above were using the "every day sale" price of about $5.19/yd. However, this fabric store is well known for super easy to find 50% off coupons, so if your local fabric store is similar, be sure to take advantage of such coupons. Also, of course if you want to use a cheaper fabric, that brings it down even lower.
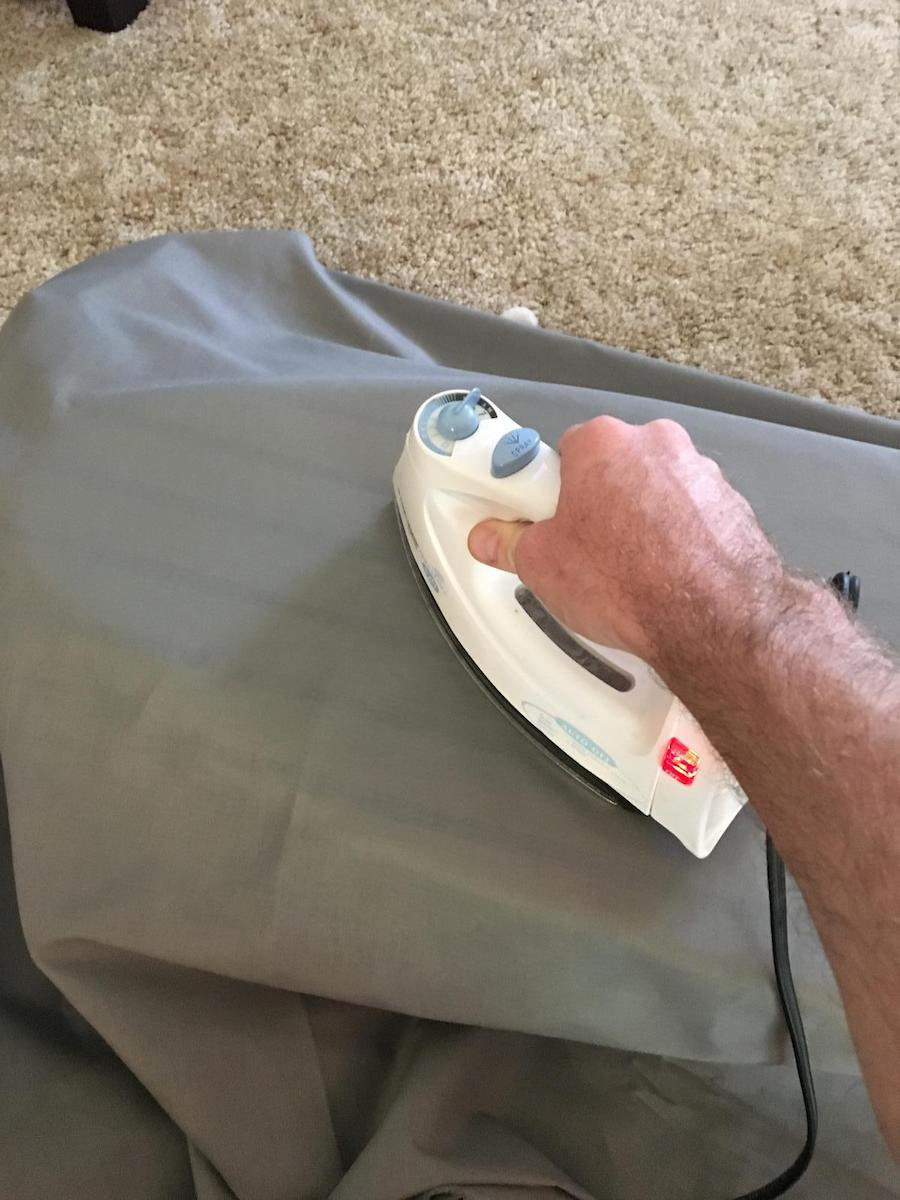
After you cut your lengths of fabric (about 56" for each panel), you'll probably want to iron out the folds from your fabric being wrapped up. It'll look nicer, in my opinion. Unfortunately for me, we don't iron much and only have one of these mini ironing boards, so that was a little annoying.
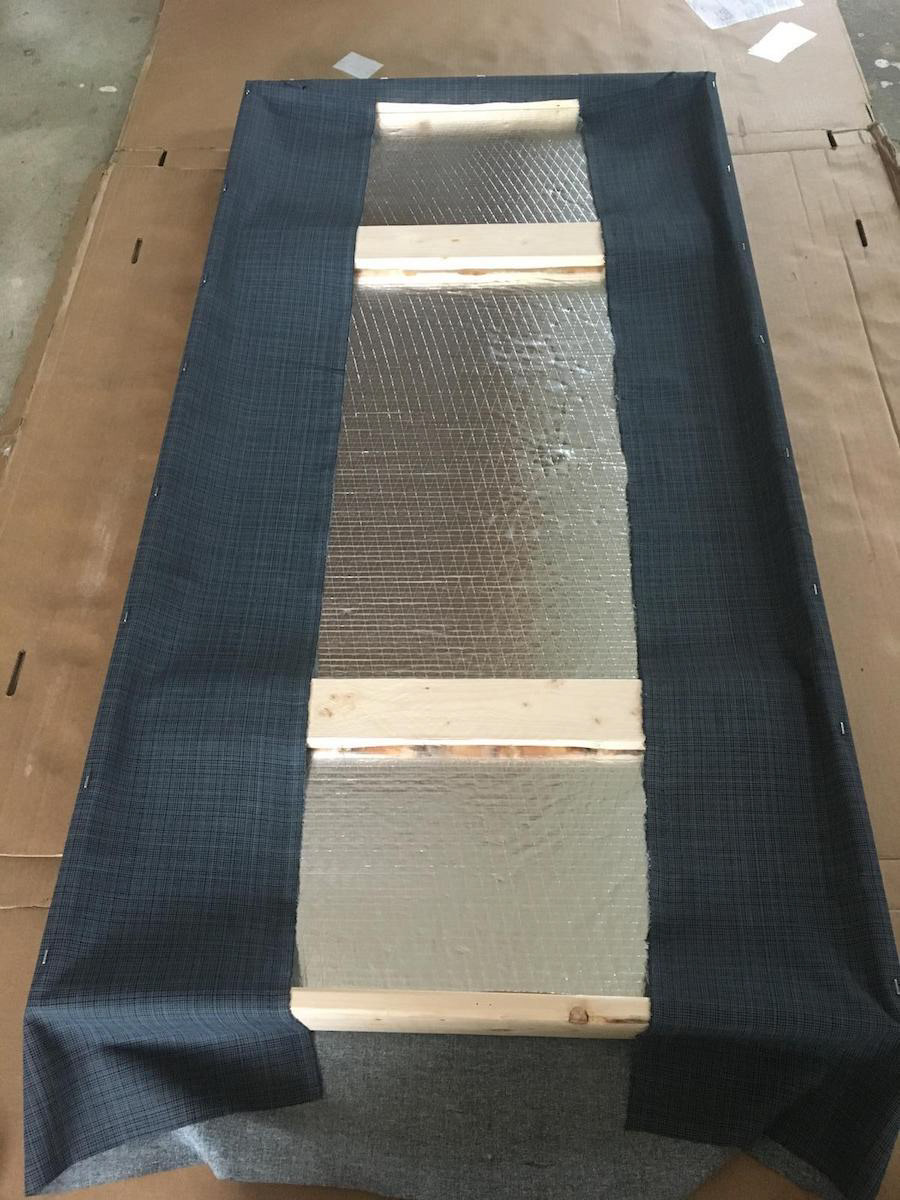
Lay your fabric out on the ground face down. Put the frame and panel in the approximate center of the fabric. Pull one side of fabric up on a long side and wrap it around the frame. Using a staple gun, staple down that one side, putting a staple every few inches. Then move to the opposite side, and working from the center outwards, pull the fabric taut and staple it down.
Now move to a short end. Pull the fabric up and put one staple in the middle. This will hold it in place so you can pull it taut from the other end and staple. Move to the opposite end. Pull the fabric up and around so it's tight, and put a staple in the middle. Then, working outwards, put one more staple in on each side.
At this point, you'll be wondering about how to make the corners clean. As long as you can wrap a present, you can do this. Just tuck the corners in like you're wrapping a gift, pull the fabric tight, and staple where needed. Finally, move back to the other end with just one staple. I then pulled this staple out with some pliers, and re-tightened the fabric, and put another one in the middle. After that, repeat the steps above like you did for the first end.
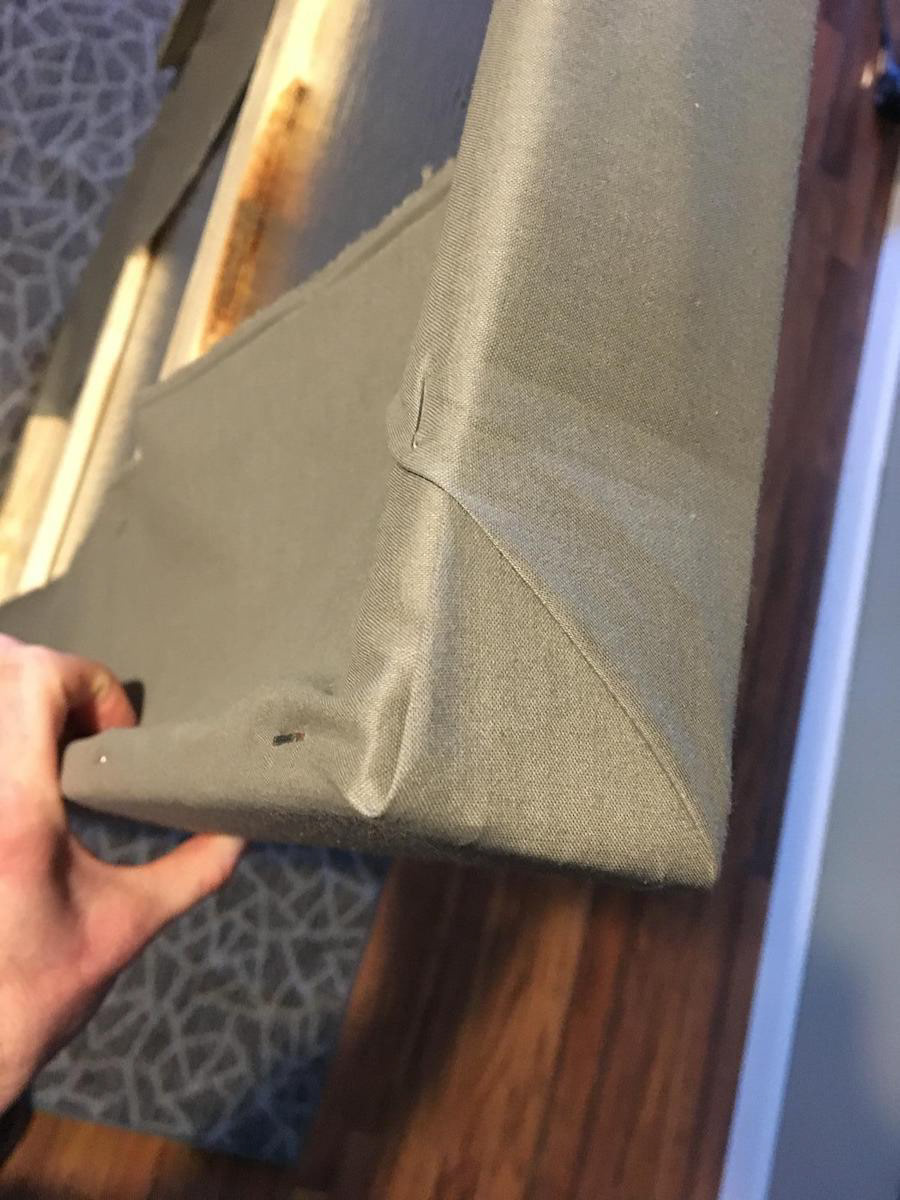
Here's a shot of a finished corner, folded like a wrapped gift.
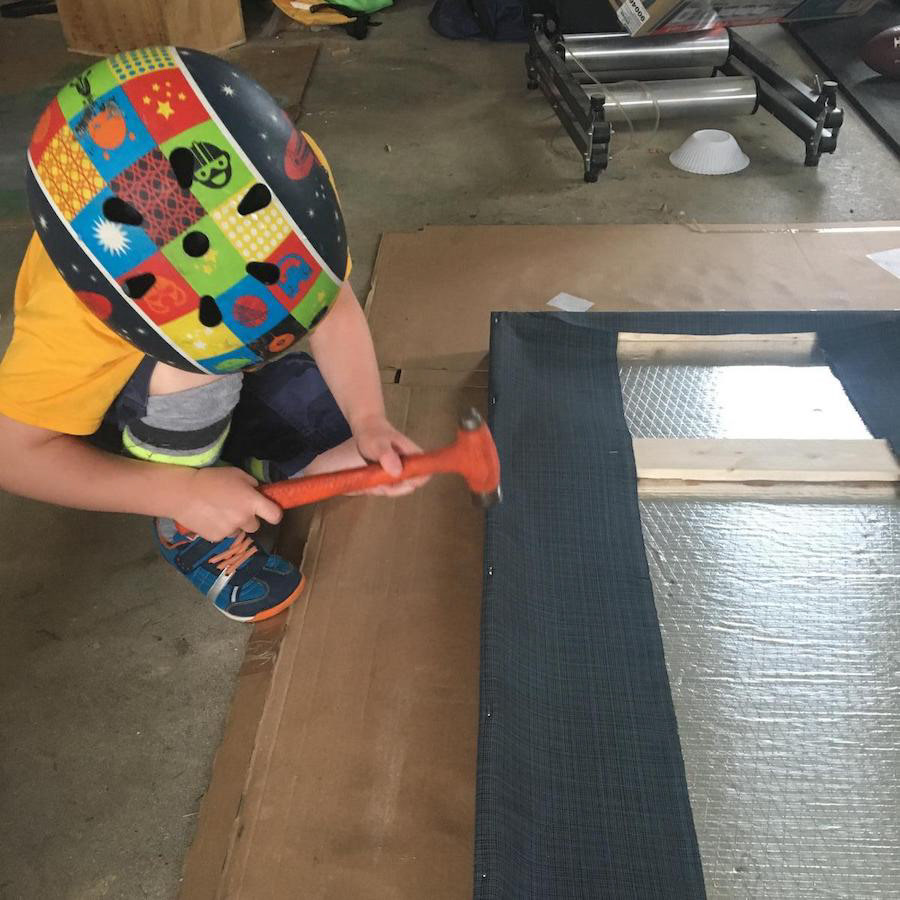
The final step may or may not have to be completed for you. My staple gun only put the staples into the wood about 1/2 way, and I didn't want them to rub against the wall or scratch me, so I tapped them all in using a hammer. My son was kind enough to help out on this one. Also, note how I stapled down the extra fabric to the cross bars so it doesn't flap around. Optionally you could use some spray adhesive and stick the fabric to the back of the insulation panel.
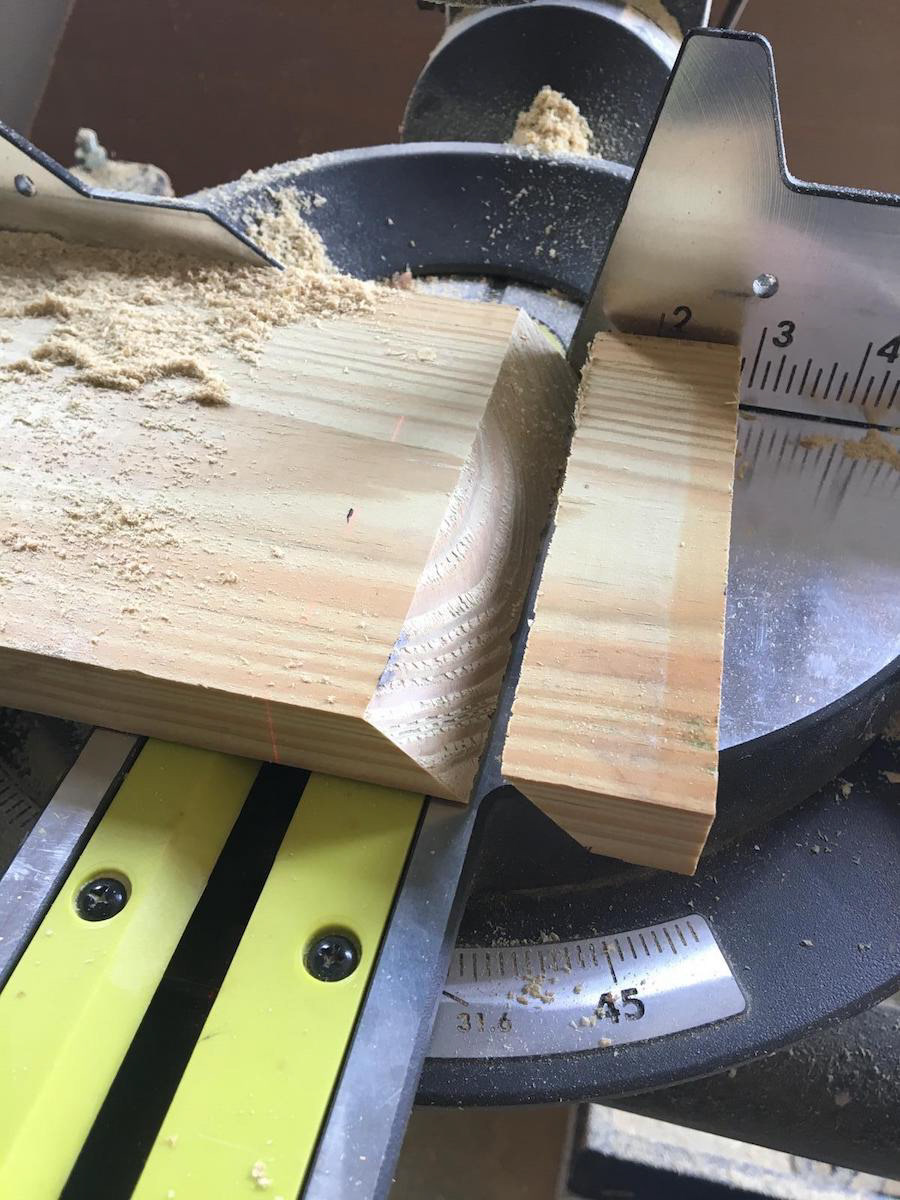
To hang these panels, I decided to make my own "z clips". You an buy metal z clips for mounting for a couple bucks each, or you can use a single piece of 1"x4" poplar or other wood. I cut a piece that's about 4" long, cut in the center at a 45 degree angle. Note the mark on the piece above where I'm going to make a straight cut for the matching piece.

I drilled two pilot holes in each piece of wood through the thicker portion. One of these pieces will be attached to the wall, and the other attached to the frame. You'll need to also drill matching pilot holes in the frame, and in the wall. Use drywall anchors as appropriate. Careful, this cheap wood is prone to splitting, so don't over tighten your screws.
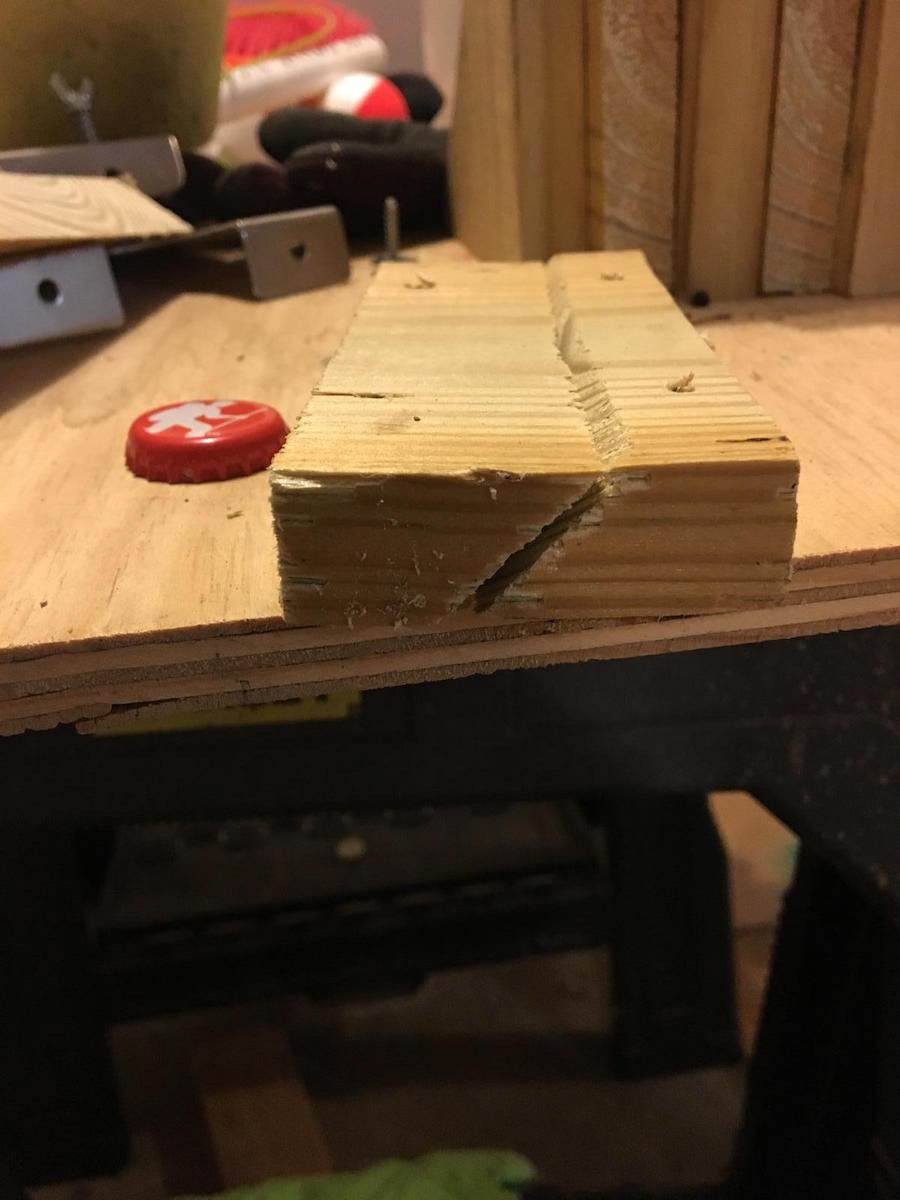
Side view of how they mate together. I ended up painting these all grey to blend into the wall a little better.
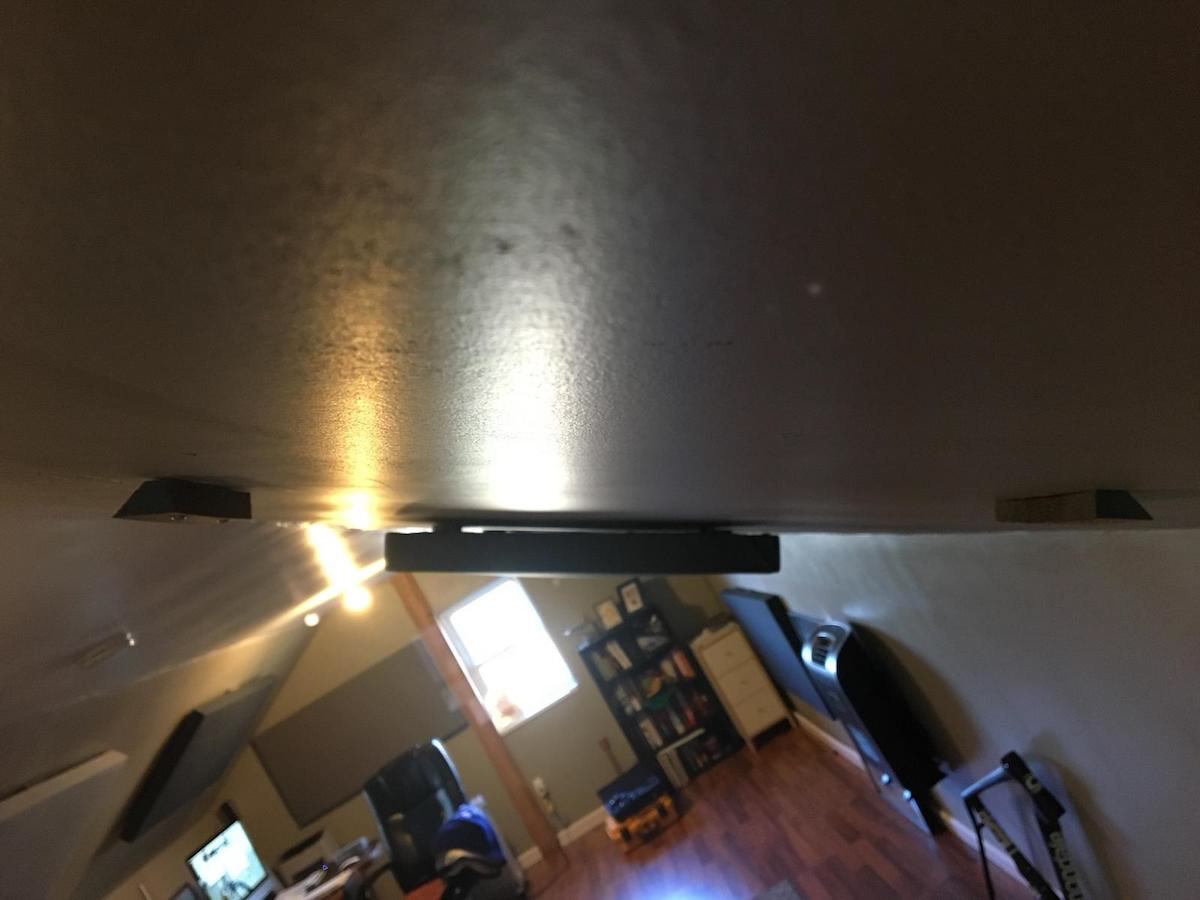
This picture is a little odd due to my slanted ceilings, but you can see how I've attached two of the hangars onto the wall. The panels hangars slide onto the matching hangars on the wall so the panels sort of float. I used top and bottom hangars on the slanted ceiling walls, and just top hangars on the vertical walls. The number of hangars you'll need will depend on how and where you're mounting them.
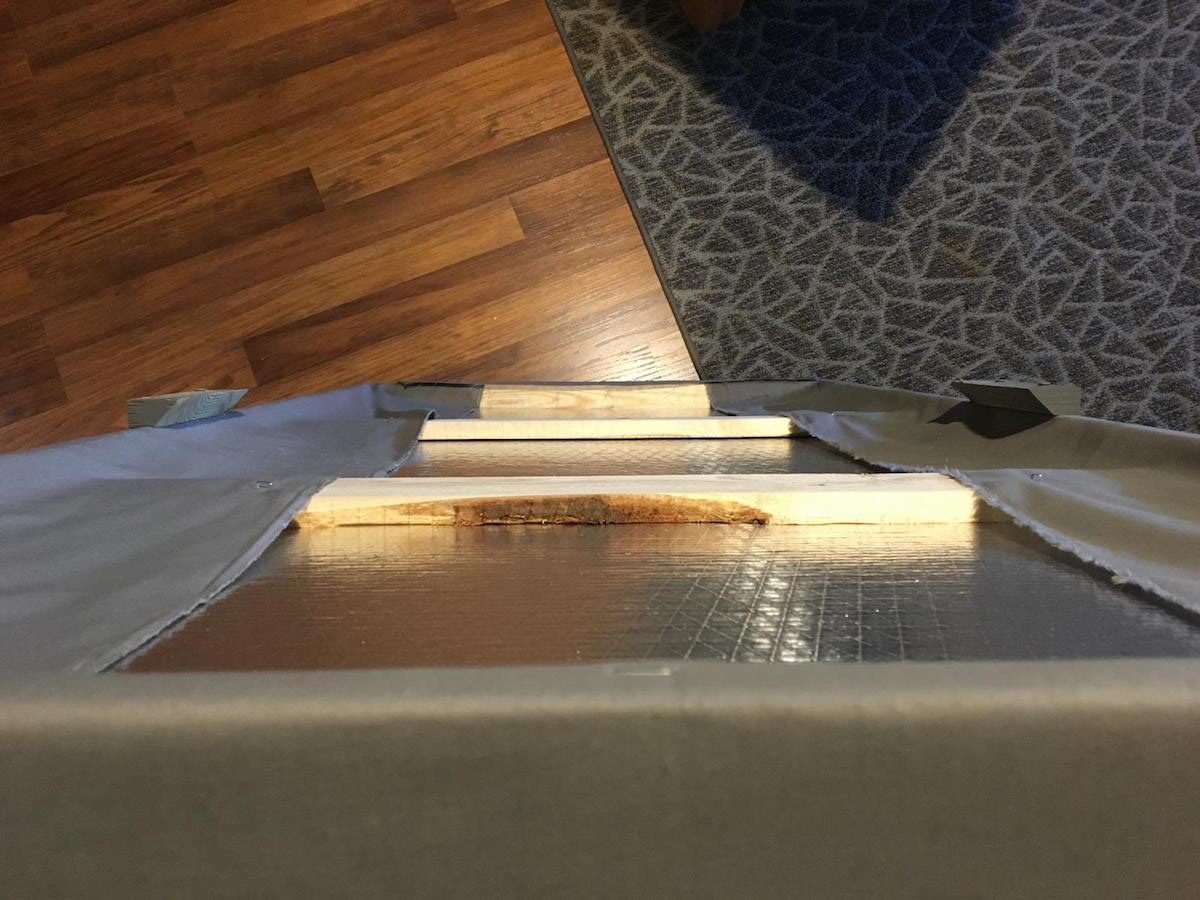
Looking down the back of a panel, showing the matching hangars to the ones in the previous photo. Like I said earlier, this one will slide onto the two hangars on the ceiling. The ones I mounted on the wall only have one hangar on the top. These hangars are attached with additional 1 5/8" screws, and pilot holes were drilled into the frame through the fabric. See the first picture here again for a final view! The End